Here’s How To Prep Your Surface For Paint

By: BeautiTone
Prepping for a paint project may not feel as glamorous, fun, or instantly gratifying as painting itself, but from experience, we can tell you—it’s the most important step if you want a finished result that looks flawless and lasts. Proper preparation not only helps you avoid costly mistakes and delays, but it also ensures a flawless, consistent finish on your freshly painted walls.
The good news? Prepping isn’t complicated. It comes down to five key steps: clean, dry, dull, patch, and prime (if needed). When each of these steps is done right, your paint will adhere better, cover more evenly, and look great for many years.

Step 2: Patch
Once your walls are clean, dry, and dull, it’s time to patch. Fill in any nail holes, fix any nail pops, or surface blemishes with our high-quality drywall compound or a wood filler, depending on your project. Once dry, sand your patched areas using 80-grit sandpaper—this helps replicate the texture of the original drywall, so the patched areas blend in seamlessly with the surrounding wall.
Last Step: Paint
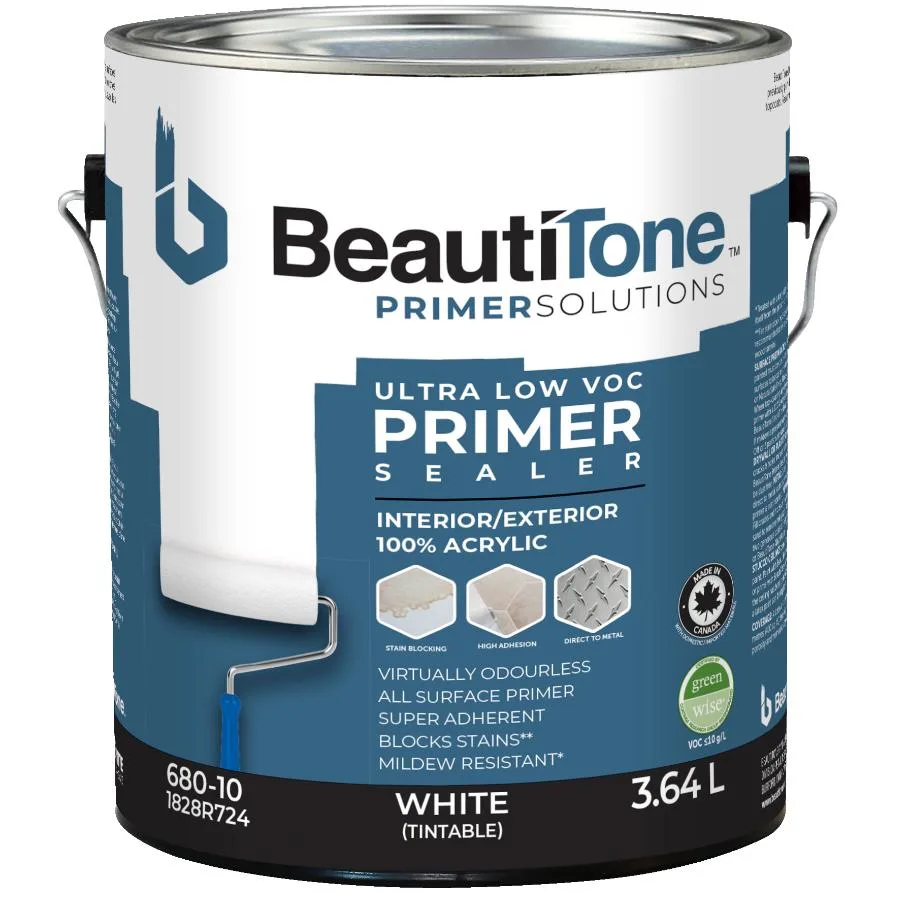
Now that you’ve cleaned, dulled, patched, and addressed priming, you’re ready for the fun part—painting! With the right prep, the paint glides on smoothly, adheres beautifully, and gives you that fresh, professional look. You’ve laid the perfect foundation for a lasting finish.