Here’s How to Add Garage Storage
Increase your Garage Storage
Need more storage space in your garage? This easy DIY project teaches you how to build a storage rack perfect for holiday décor, sporting equipment, or even your DIY tools.
What You’ll Need
Steps
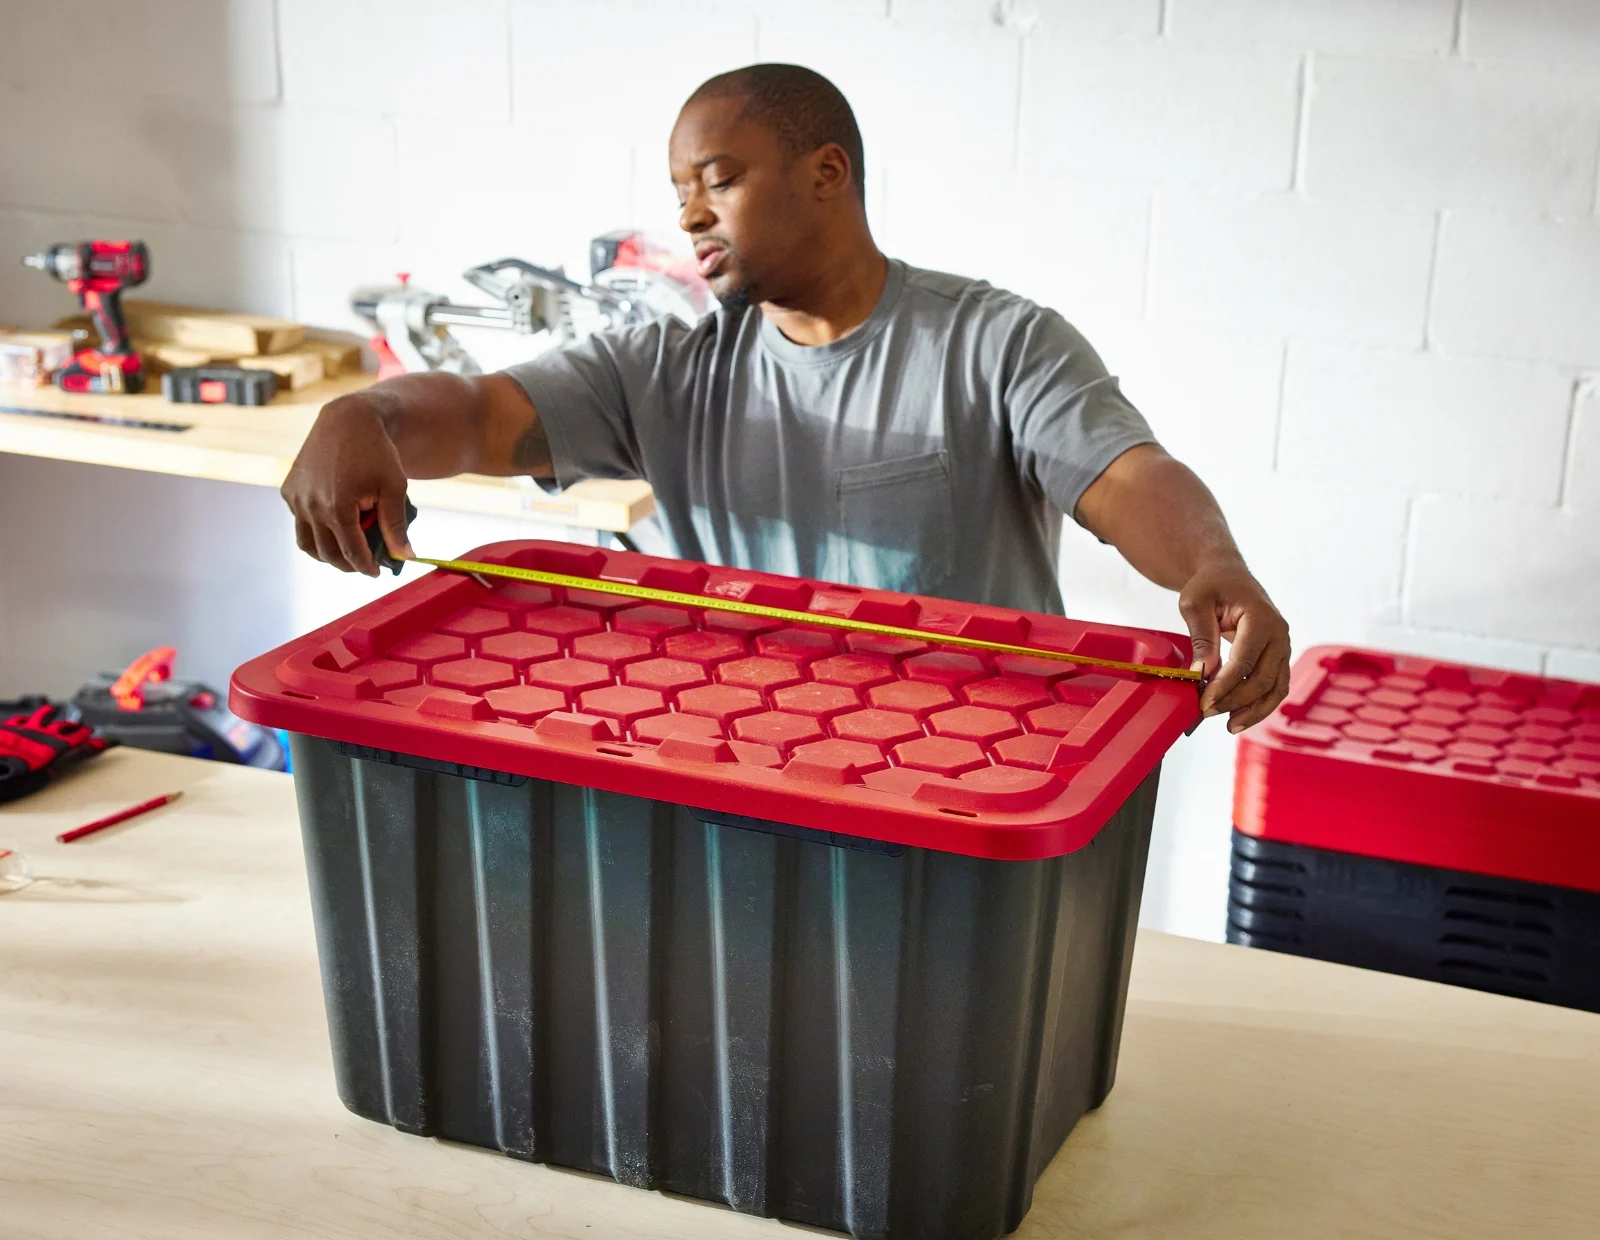
Step #1: Measure Totes and Determine Size of Shelves
Determine the depth and width of the shelves you will need, by measuring the lid of the tote. Measure the height of the tote to determine the spacing between each shelf, leaving a little extra room for sliding the totes in and out.
The overall dimensions of our storage unit are 30’’ D x 45 ½’’ W x 93 ¼’’ H.
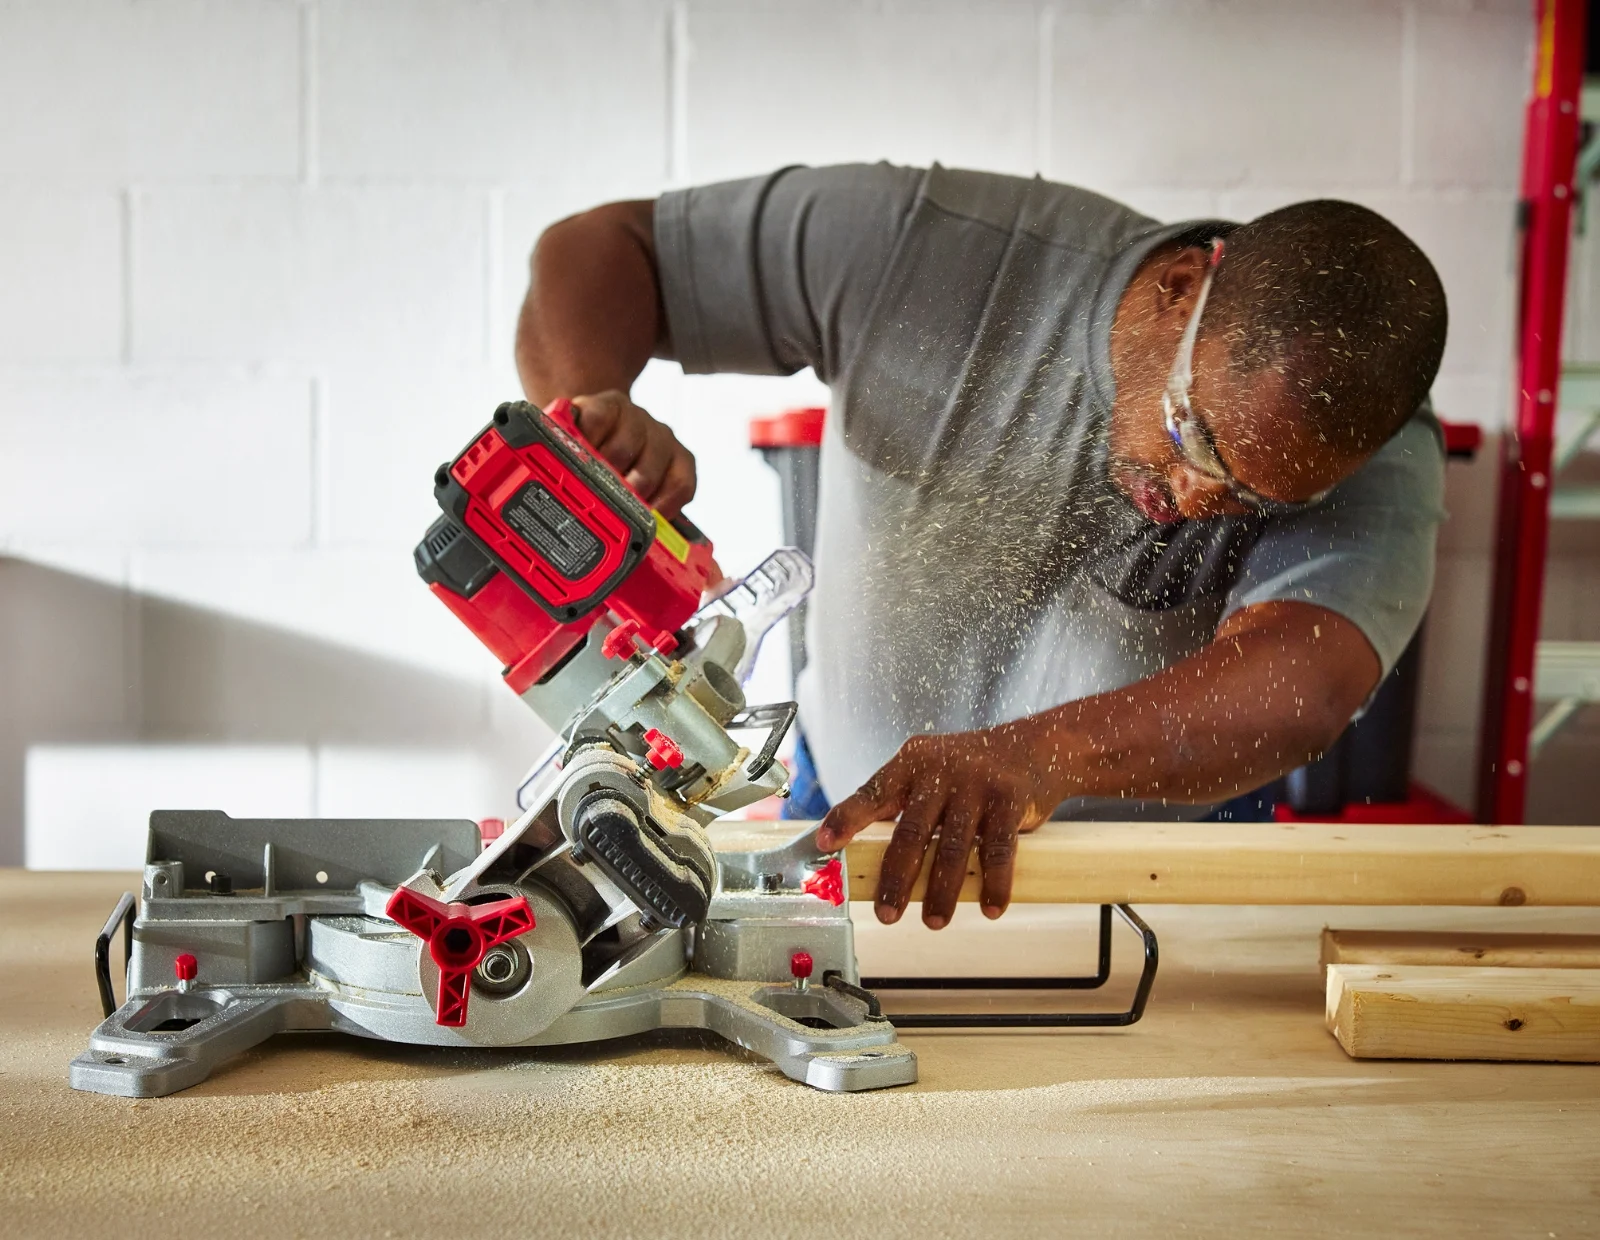
Step #2: Cut All Pieces to Size
We recommend marking out the shelf pieces before you cut and screw things together.
Cut all the shelves and cross pieces with a mitre saw. Angle cut one edge at the front of the cross pieces to allow for a smoother slide in and out.
Tip: For the totes, we’ve measured 15’’ up for the first cross piece and 18’’ for the rest.
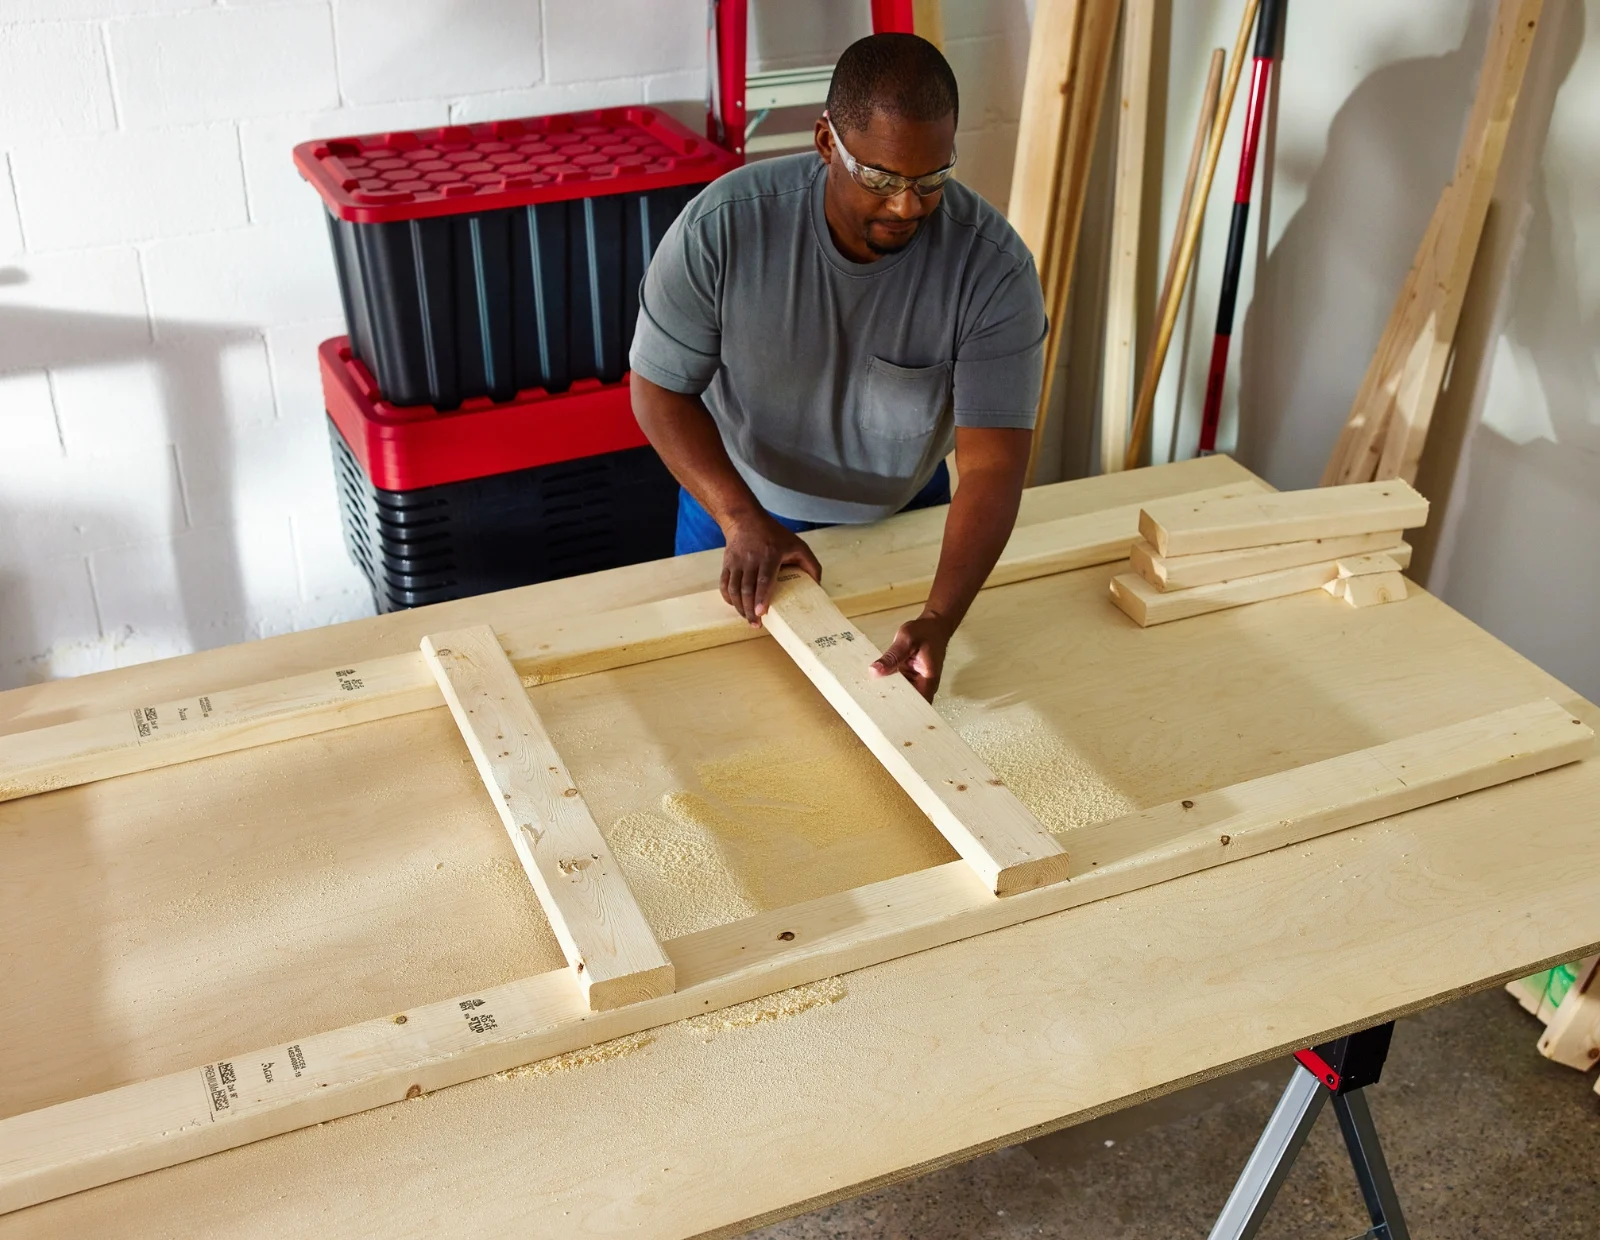
Step #3: Assemble the Shelves
Assemble 3 separate shelves with 2 side pieces and rungs ensuring the angle cuts are all on the same side. The middle shelf will have rungs on both sides.

Step #4: Attach the Shelves and Support Brace
Attach the shelves together with two header and two-footer support pieces.
Turn the unit onto its front. Attach an ‘X’ brace to the back of the unit to provide additional support.
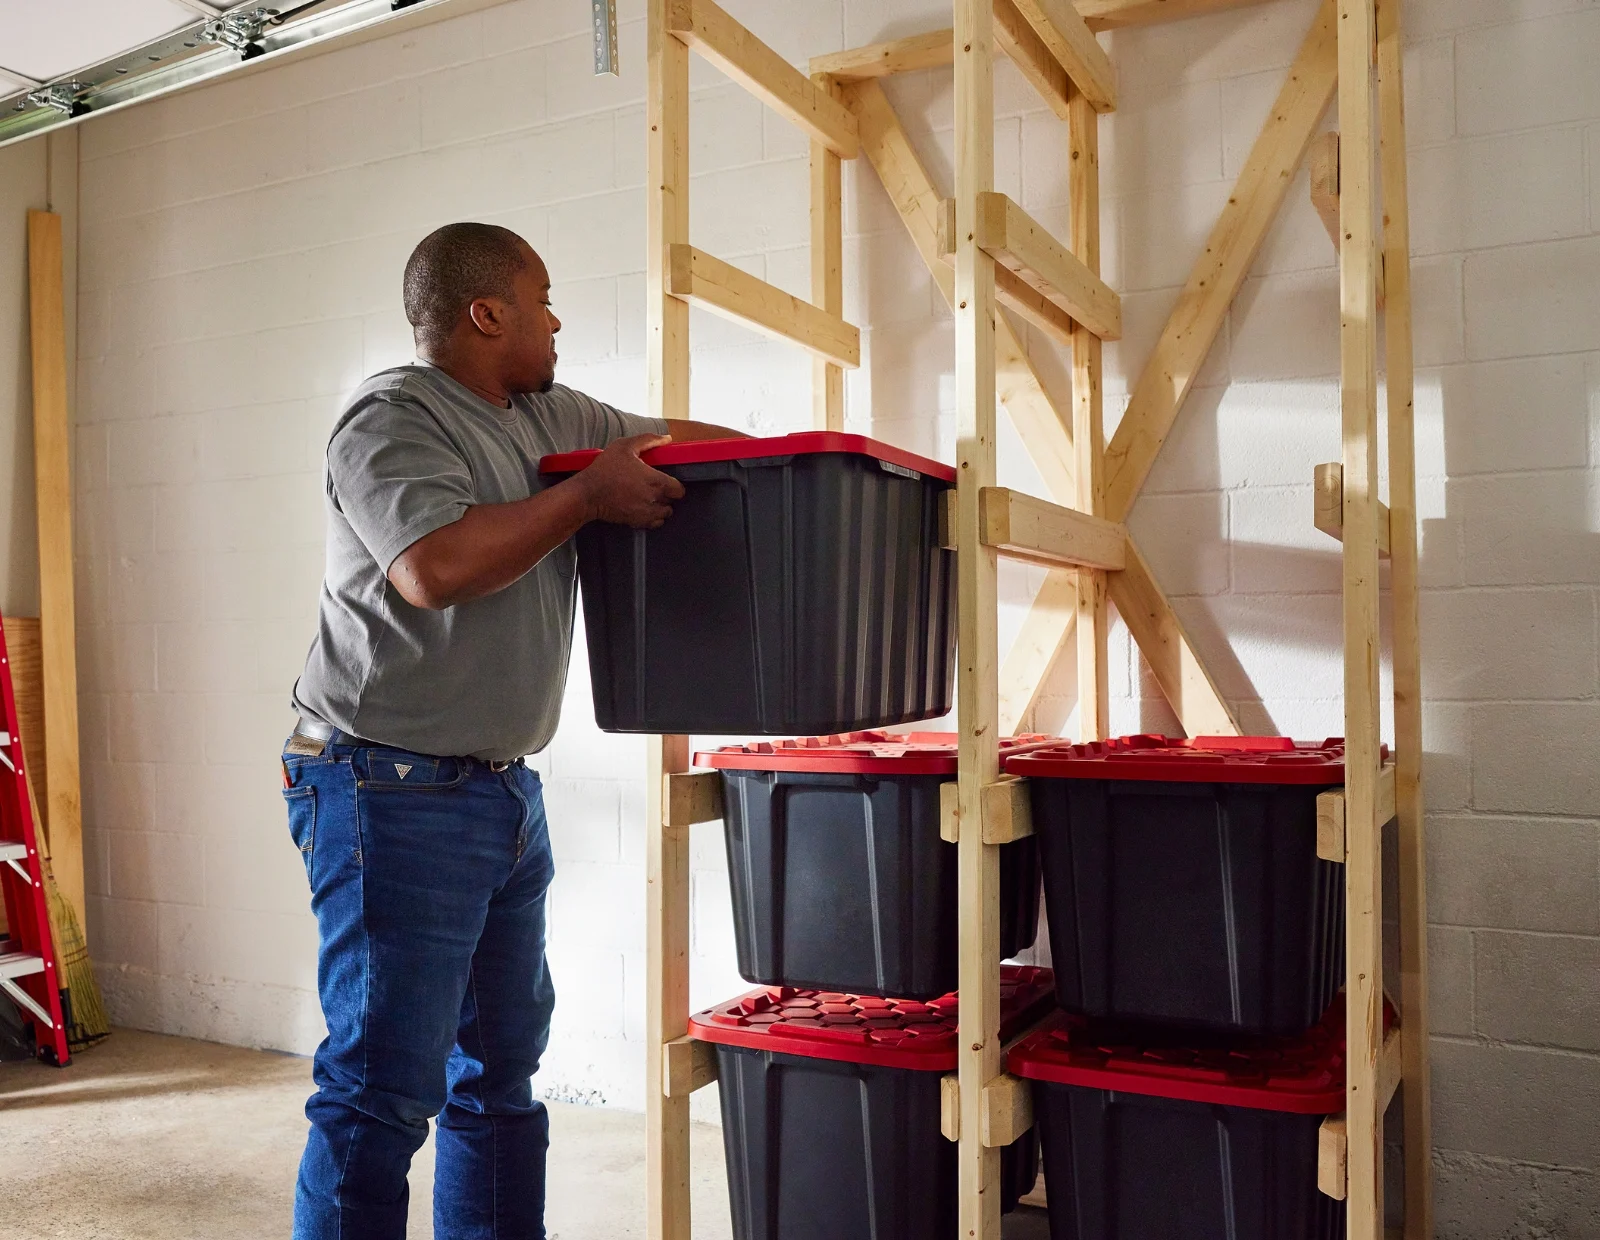
Step #5: Position Unit Against Wall
Position the unit in place. We recommend filling the unit from the bottom up. Enjoy all the storage and organization your unit provides!